Monday, January 26, 2015
Saturday, December 20, 2014
What do you do with the wood from your stamps?
I peel the rubber stamps off the wood blocks they came on. I find it much easier to store them, and use them without the wood attached and getting in the way. =)
I was looking at the last one i took off, and wondering what to do with it:

Then i realized it would make a great drawer knob for the new desk i built. Well its not a new desk, the top is old and salvaged, and the supports are new. One side holds 4 drawers and the other 3 shelves.
What do you do with your stamp wood?
I made some wire hooks for my new outdoor tree ornaments.
I haven't blogged in ages. Just thought you may enjoy seeing how I spent some time last night making hooks for my outdoor tree decorations. I made a few while relaxing watching a movie. I will try to make a few each evening, thus not getting bored and keeping my creativity fresh.

Before I added the curls, I closed each end with a small loop for safety. No scratches from bare wire.
I just curled the wire into big curls. Sometimes turning them around and curling again.

All done and ready to hang.


You can also view the video here.
Thursday, July 10, 2014
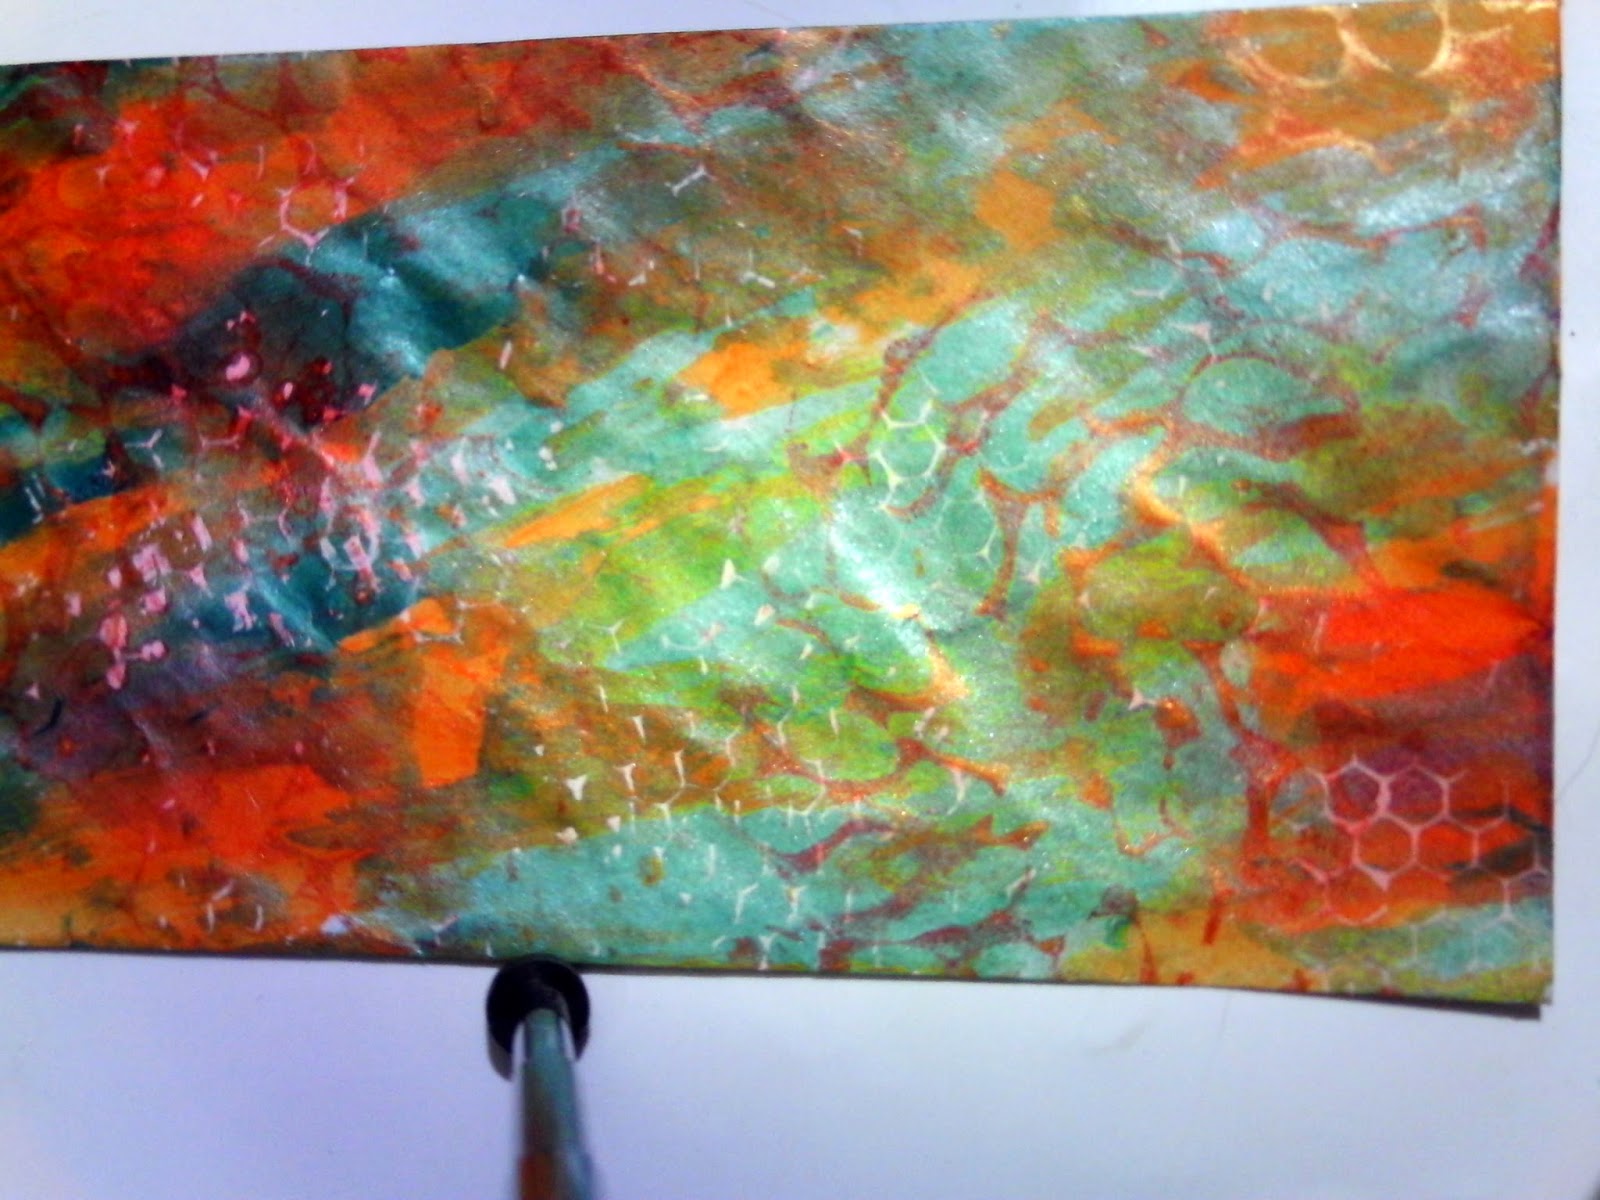
Just wanted to share some images showing how I use my home made foam stamps.
The white circles. This page was just a mix of things found on the under paper.
Here its the orangish colored things, I think here I only sprayed water on the stamp and then stamped, revealing the color below it.
On the bottom right corner in the orange-red you may be able to see the curve of this stamp, I use it for sun rays too, or a flower.
You can see in the top, the flower on this stamp, it also has just the petal shapes all around the flower.
This is before, and
after.
Happy Mail Journal for all the lovely papers I just cant bring myself to use!
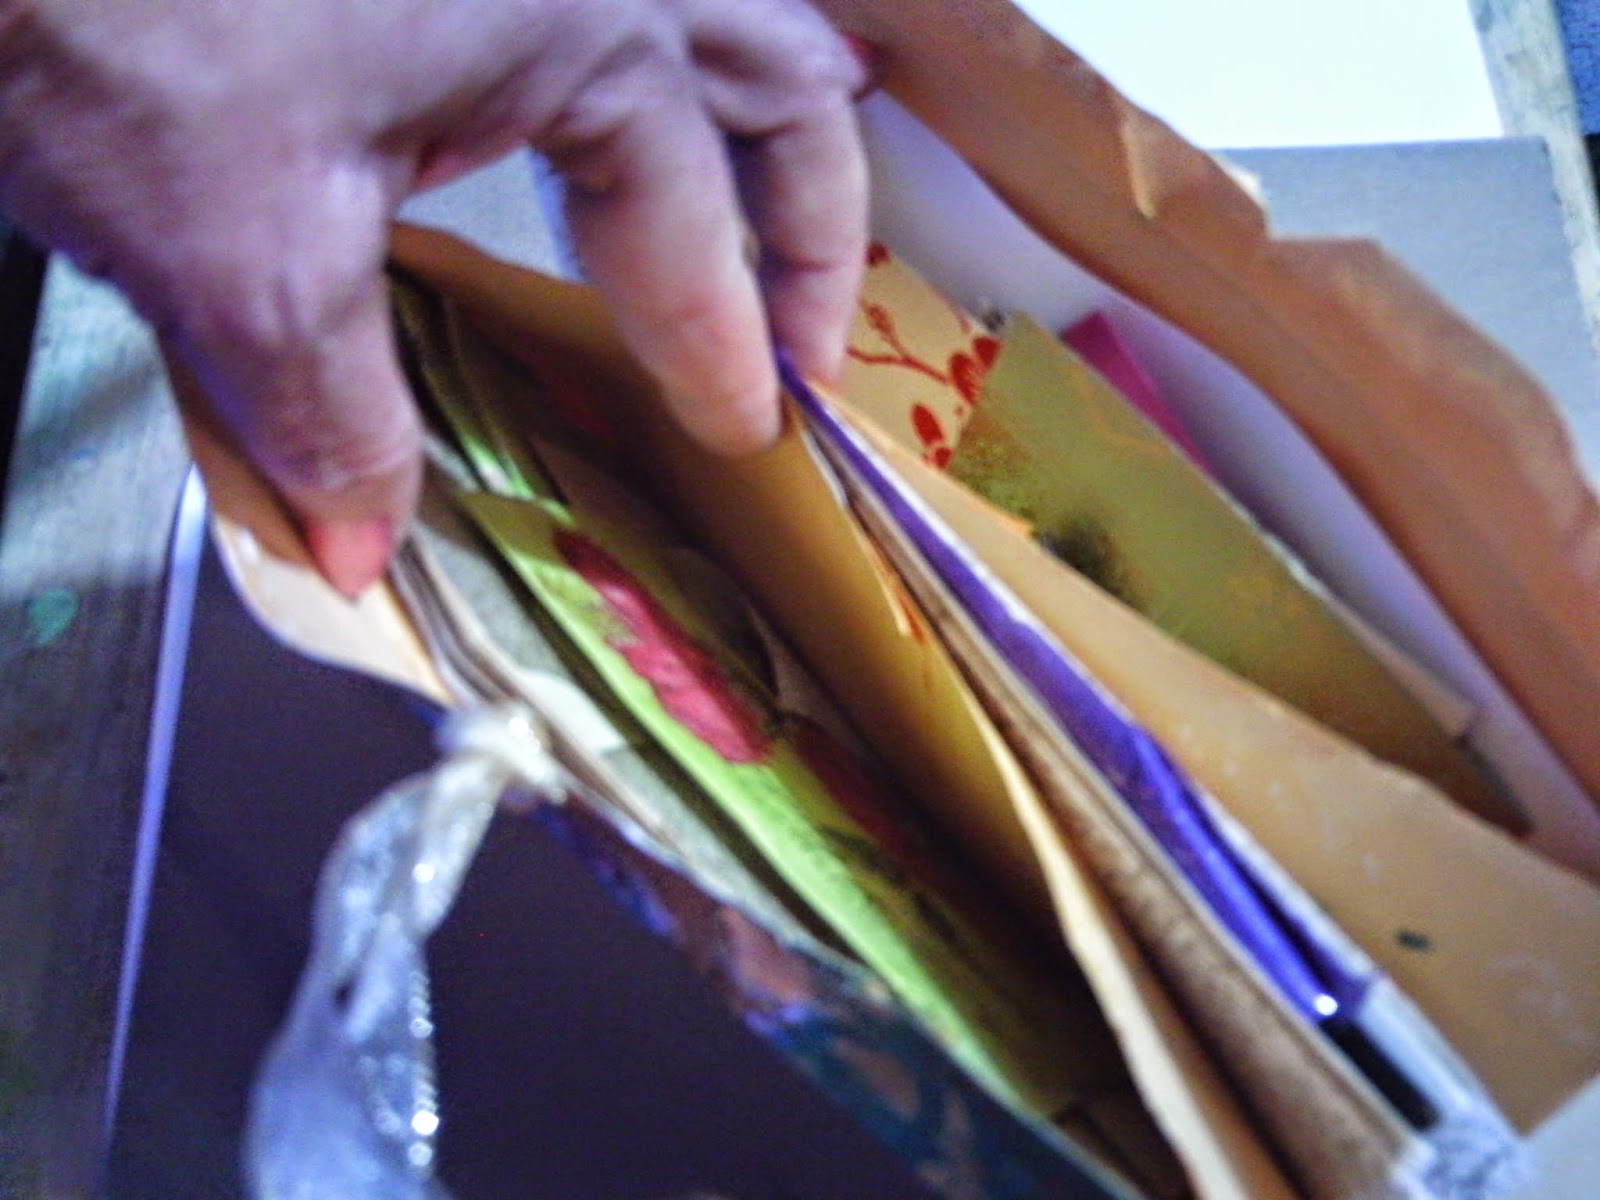
I've received some of the most beautiful papers in Happy Mail, and decided I cant use them. So I made a little envelope journal from a happy mail envelope and used hair pins to put them in temporarily.
See that beautiful feather under the ribbons? Thank you so much Anne Ryan. I think I will put a tiny magnate on the backside and a washer inside the pocket and keep inside the journal, for safety. But for now its where i can see it easily!
Some of the beautiful papers i have received. You can see the hair pins at the top and bottom of the journal there.
I put more of the special pieces inside both the front and back pockets. I havent finished yet. I will paint the inside and strengthen the flaps. I do have some ideas for more decorations, but am stumped on what to paint on the inside. Then Im adding one of the small pieces of paper to the back pocket flap and a magnate to keep it closed. Can hardly wait!
This weekend I will be working on some shoes and different pieces of happiness to mail out. I have so many ideas, I need more space!
Tuesday, July 8, 2014
I created this for SOC. When I saw this weeks challenge last night, I admit, I really really didnt like the color choice. I thought about it all night and most of today. Then finally got out some watercolors and just started painting with the royal blue washes, then tossed in some flourishes of red and splatters of both.
It seemed too dull, even after I added the pop of blue here and there. Sooooo... I grabbed my homemade stamps and stamped some dark royal blue all over the page. That helped ... still needed a little something.. I cut the page up into pieces, and there .. look a tag was born!
I added the face, received in happy mail, painted in the light blue, and the word Believe. The blue sharpie I used for the word, was off color after applying so i went over it with the lighter blue... Not happy with it, but shrugs.
The colors for the pale blue seem to be washed out, too bad they are actually very pretty. I guess I need to build a proper light box, but its so much more fun, running around trying to set the camera up, get close enough and take 30 pics to get on good one!
It seemed too dull, even after I added the pop of blue here and there. Sooooo... I grabbed my homemade stamps and stamped some dark royal blue all over the page. That helped ... still needed a little something.. I cut the page up into pieces, and there .. look a tag was born!
I added the face, received in happy mail, painted in the light blue, and the word Believe. The blue sharpie I used for the word, was off color after applying so i went over it with the lighter blue... Not happy with it, but shrugs.
The colors for the pale blue seem to be washed out, too bad they are actually very pretty. I guess I need to build a proper light box, but its so much more fun, running around trying to set the camera up, get close enough and take 30 pics to get on good one!
With the other pieces:
I can add a small pocket to it:
Saturday, July 5, 2014
The July challenge for Art Abandonment is to make a kit that will start someone on an art journey. Sounds like fun, and actually is what I did for last month. I had started making another secrets journal to sell on Ebay, but may use it for this months drop.
Although, I have been spying on my jewelry making supplies, and think it would be fun to make a kit from them, maybe do both!
I am adding this as my challenge for this weeks Summer of Color.
Although, I have been spying on my jewelry making supplies, and think it would be fun to make a kit from them, maybe do both!
I am adding this as my challenge for this weeks Summer of Color.
Front
Back
and the inside.
This is the one I dropped off last month, I filled it with many pieces of art to get the new owner started.
This is the only art I did on the inside, you can read more about it from the menu on the right.
Subscribe to:
Posts (Atom)