Saturday, May 31, 2014

I am SO procrastinating today. Was throwing out a magazine and thought shoot I need to look through it for words! I'm only about 1/3 the way through.

I think will use the dog and hello as a tag, maybe add the enjoy simple pleasures even more to it, but not much room on it. And I love the weekend curves ahead, lol. Not sure why, just feeling it!


The wrinkle free will go on a page, but it will say something like : wrinkle free? Not me, I love to lol!
Love the flurry of change too and dont judge just choose.


ummm comfort zone.... refresh


calendar days that blue one? Clock your sunblock? I need that one for every day. Love the flower.


Love this spread of purple


This is a pic that was with um jellybelly? marshmallow? but I think its fireflies.


Today I was working on my stamp and stencil book binder?  and realized I could show you how I turned 1$ into 16+ stamps =) .


I purchased this 8 stamp set at my local dollar store.  Sorry, I already pulled them all out of the package before I thought to get some photos of them.

It came with 4 flowers and a butterfly, lady bug, bee and dragonfly.  I realized I could use the bottom of the stamp as a separate stamp too, and very carefully, peeled the top part away from the bottom part.


As I peeled the top off some tiny bits of foam stayed on the bottom layer.  I used the edge of my fingernail to gently rub most of them off, but found I could also use a fingernail file to lightly sand the layer too.

After I had them apart, if there wasn't enough sticky already on them to stick to my protector sheets, I just put a dab of Aleene's tack it over and over on the back.

I purchased two of these packages, because Diamond Lil found she loved to chew on some when they were on the table waiting to be used.


So, you can see above on the left the remnants of flower stamp that I cut the chewed parts off?  I can use it in a straight line for straight edges, or use it curved.    

Now I can first stamp the bottom of the stamp, then stamp the top of it on the same spot, creating instant shadow, or whatever.  I will put the peeled off tops on some 'found' clear packaging acetate for better registration.

The dollar store had 3 other types of stamp sets too, beach, animals, and princess.  I found them in the kids area on a peg.

Happy stamping =)


Monday, May 19, 2014

Today I was making fun foam stamps for happy mail.  Last night i was outside making them but had to stop because it got to cold.  Before going inside to paint, i tried just pressing the hot tool attachments into the foam, then today checked to see if still there, and YES they were!

So you only need to push those attachments into the foam, no heat needed...

In this photo I used the little checkered attachment and made the little bricks for?  And while outside I noticed a box from long ago, and inside was that black roller.  I think its from a printer, there were two of them.

I didnt even clean it but ran inside to put some ink on it to see if it would make lines.. and yes it does, im so happy.  I dont own anything to make rows of narrow spaced lines for journaling on!!!

You can see the stamp on the far right side, with black ink on it.  I also tried using watered down craft paint.  Love my new stamp, i see lots of castles ahead!


Tuesday, May 13, 2014

Tutorial for Georgia Hall =)

Well, I'll try this tutorial for Georgia Hall on DLP.  My little camera can do video, but not sound.  I havent tried to set it up to do a vid tut, just yet.  Perhaps one day soon Ill try it.

I always apply 1, but usually 2 coats of medium to my pages.  It allows mistakes to be removed, kind of.


 This is what I used, homemade alcohol sprays, medium, and craft paints, and some of my stencils.


A circle from my stash, glue stick, sharpie pen, and the sun stencil from my .99 package of stencils used to sprinkle powdered sugar on you coffee!


You can see in the above pics, i just sprayed the water soluble sprays on the paper in a random pattern.  I watched it for a bit and then sprayed some more.  There was a lot of liquid on the page, and i let it dry.

Then I glued my spot on and put the stencil down and used my finger to smudge yellow pearl paint on the rays.  You may be able to see in the pic below where some of the rays are changing color because they have liquefied the sprays underneath. 


At this point i realized the error of my ways,  =) and pulled the circle back off and stopped working on the sun.  


Instead I grabbed my little old bottle of blending medium, my antique white paint, a spray bottle of water and my homemade stamp.


I put a dab of all three on my wax paper, and using two fingers smooshed it altogether into a smooth slurry.  Then I smeared it on my stamp and started stamping all over my page.  I waited for a bit to see how it looked.  

I hadnt used enough paint, for my liking, and added more to the slurry, and stamped away.


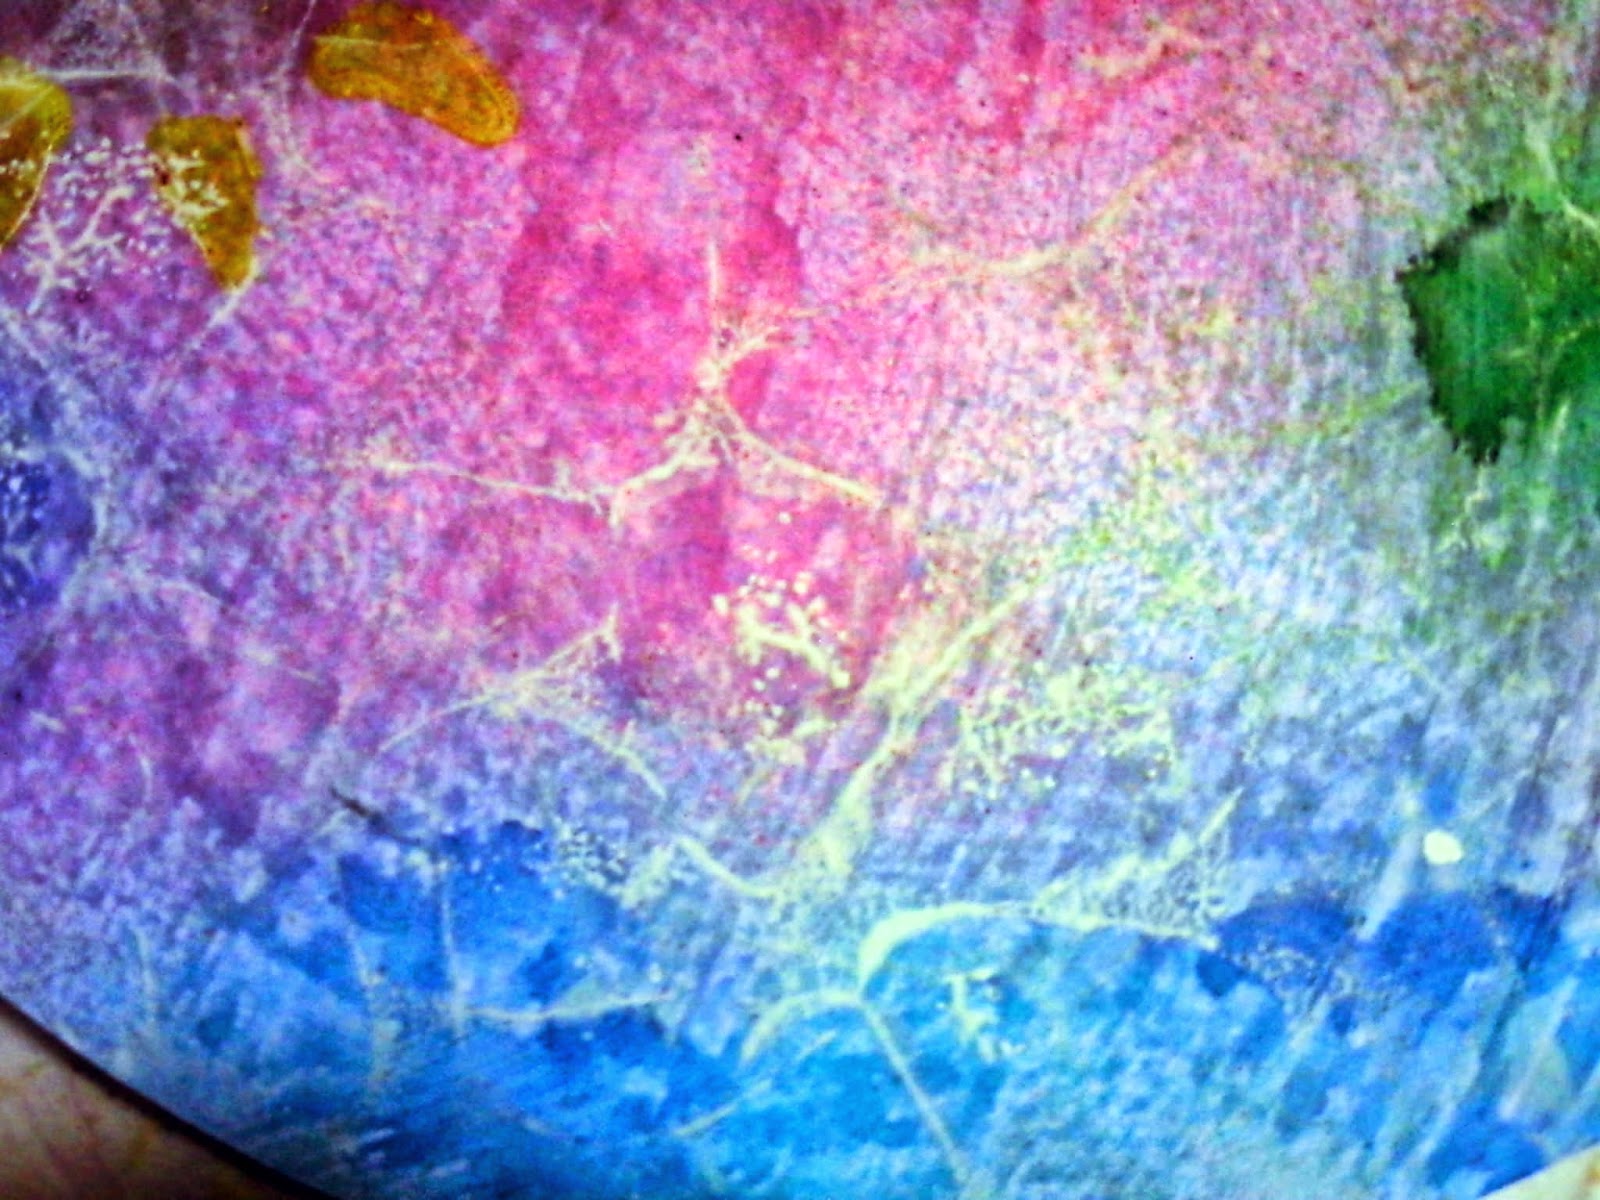
Below in the green area you can see the green combining with the off white.  Its happening in the blue areas too, but I put a lot of paint in the slurry, so its not showing as much.  But I love the off white spidering things that are happening.


Next, I put the circle back on and the stencil and using my fingers I smudged yellow paint on the rays and some on the center and then using my index finger (my middle finger couldnt get the angle right lol) I smudged some orange on just the same one side of all the rays and a bit in the center.


I love sparkle, I believe we need to 'Sparkle Every Day', so I after the previous layers were dry I added some yellow sparkle paint.


I actually had my stencil upside down this time and ... well the rays got a bit wonky.  =)


And finally I added some pen work to the sun and its all finished!


I hope this helps out a bit and you could understand the process.  Good luck with your adventure and contact me in DLP if you need more information.  Im always happy to help!


The last few days, ive been a bit dumpy.  I think perhaps the dark weather and winds may finally be getting to my spirit.  I decided to do nothing.  Not a single thing!

But then I created some more circles for DLP happy mail.  That led to finding a jar to put them in, and something to keep the jar from sliding around so much.  I was afraid the cats would break it.  Soooo.....

That led to using shelf liner for a stencil.  I thought I could also cut some up to make designs.  A wonderful creative person mentioned she used to put some on a block to use to stamp textures!  I was off and running:


Above is water soluble sprays through the liner.  Below is more of the same, but less of the sprays.  I love the one above!


These are my fun projects, lol.  The heart is a great stamp, thank you Deborah Mattin for you fantastic idea!  I made the collage stamp, just for my Mothers page in my journal, for her birthday.  She would have loved it.


A few days ago I made these stamps from fun foam?  The kind with the sticky back.


I used a hot tool with various attachments that I got several years ago.  It was made by Walnut Hollow.  I used the stamps in both the pages bellow.


The hot tools are still available today, but seem a bit higher in price.  I got a close out of 3 each at 6$ I think.  My tool doesnt have a dial for changing the temp and I think was intended for ironing barbie doll size clothes, and stamping on velvet, when that was all the fad?

Saturday, April 26, 2014

I was posting about keeping plain and painted tissue paper ready for use in my journal, and then thought wow, I need to make some tissue paper stickers too.  

I started by spraying white tissue paper with homemade spray inks, in blue, neon orange and neon pink.  Then i used my finger to make some pale blue circles and add a swish of yellow sparkly paint.

Then I sprayed again with blue and pink.  Then added some white and pearl pink circles from tp tube and paint cap.  Next I mixed a lot of water with some black paint, using a tooth pick, and just used the tooth pick to splatter over it all.

Dried it and then cut the piece in half, as I noticed i loved the off side more than the right side.  The off-side showed the first layer of spraying on top of the circles, very pretty.

Next I mixed 2 parts white glue with one part vinegar.  I just used an oatmeal lid i had available.  Painted one coat on the off-side for the right side stickers and the right-side for the off-side stickers.  =)


After allowing it to dry... with my hair dryer, lol, I cut out the circles and then used a punch to cut some flowers.  My inexpensive punch didnt care for the thin paper so I cut up the pieces and put in a labeled bag.


All done and ready for inspiration!  I took a tiny piece, licked it and stuck in my calendar, it is so cool.  It all but vanished leaving only the colors, very fun to use and fast and easy to have on hand.

Monday, April 14, 2014

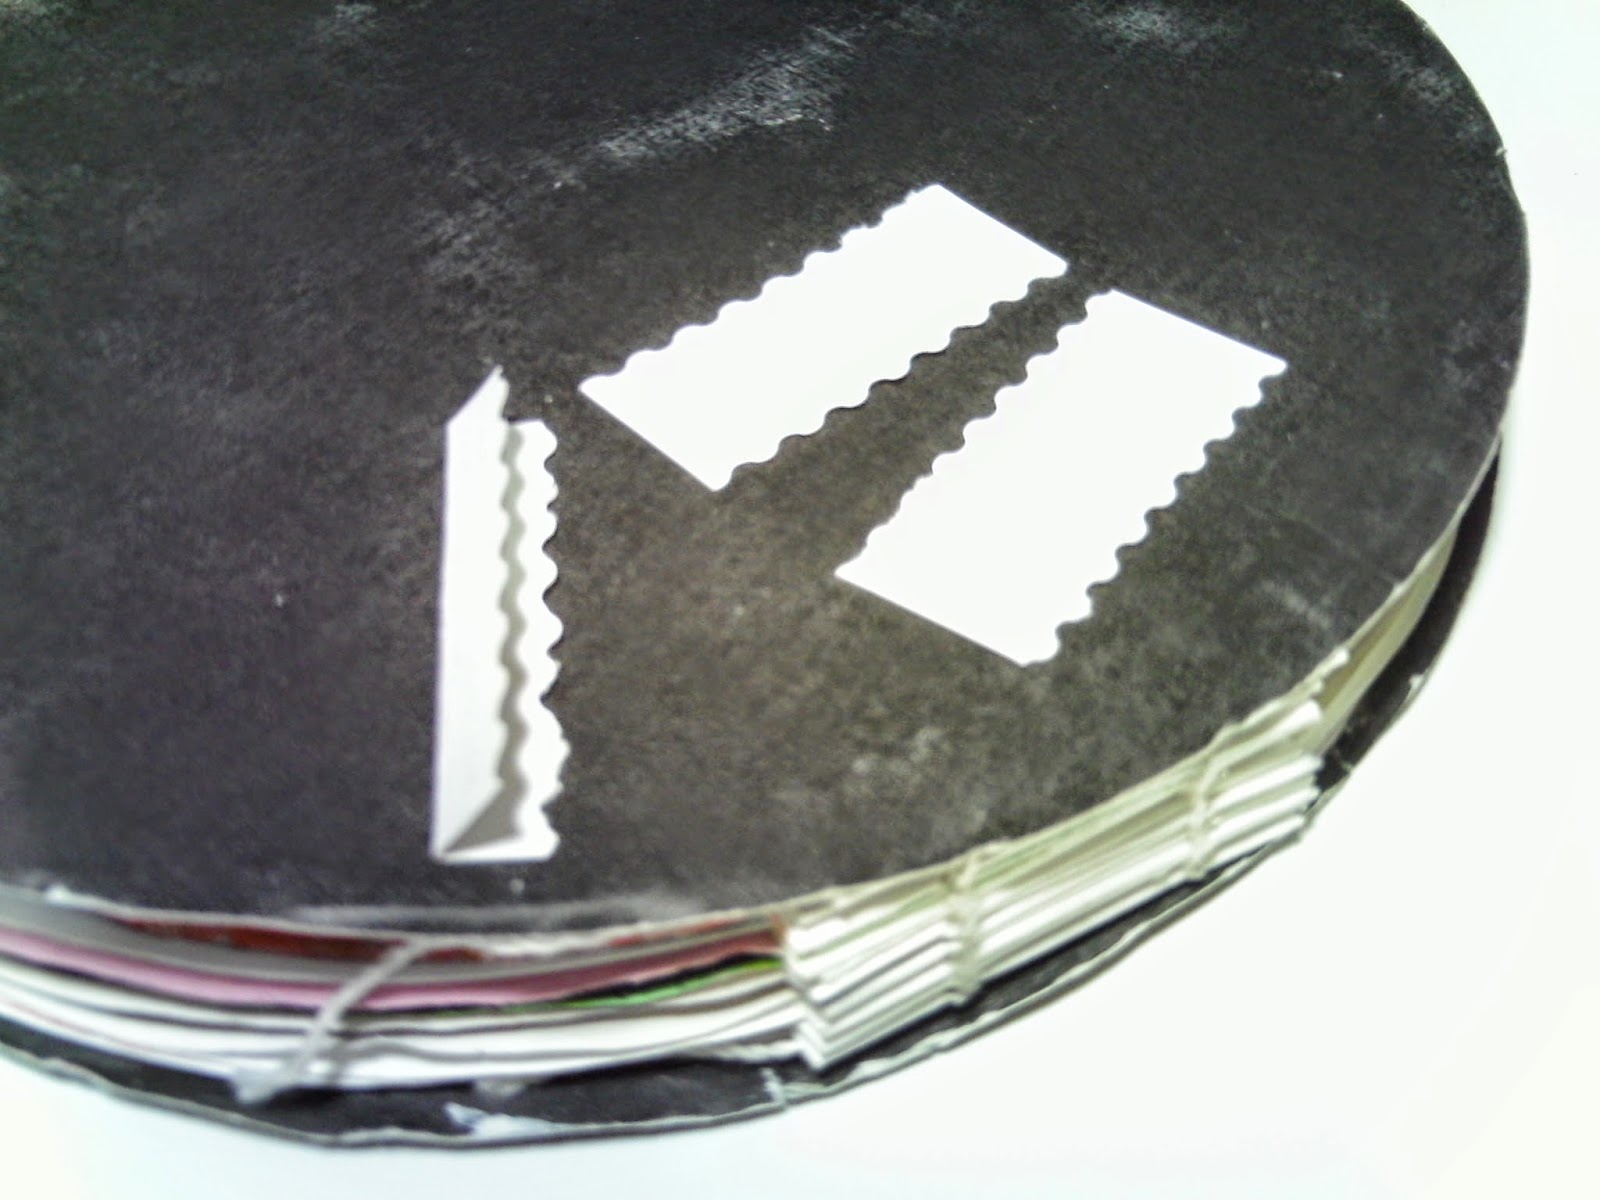
Oi!  I dont blog, but thought this was the easiest way to quickly explain how I made my round journal.  I have made my journal in 2 parts, 6 months per each part or half.  Only the first half is together and shown here.

I wanted my journal to open with the pages flat against the table/surface.  I also wanted it expandable.  So, I wanted to allow for the thickness of the watercolor tip-ins.  I used folded hinges that had a page only on one side and were the same thickness as the watercolor paper used for the tip-ins.

Each page has two weeks on it, one week on each side, and allows for a tip-in on each side too.  This means less pages and hinges per each half of my journal.  I like it.

Extra pages may be added if needed to the hinge that is free.

My plan is to add the second half of my journal by gluing the first page to the back cover of the first half.  However, to open it, you will flip the hole first half to the right and then see the last 6 months of the year on the left, starting with July.

The pages will also flip to the right.  I think i will like this arrangement very much. 


  • I used card stock in black for the 3 covers. White card stock for the hinges.  Plain printer paper for the pages and most tip-ins; and 90lb watercolor paper for other tip ins.  To tell the truth, the printer paper worked just as well after coating them with gesso for the tip ins.  


  • I could have cut one side of the circle flat/straight, but chose not to and just add a short hinge to it.  The hinge is designed to be attached to one page only, and the other side is available to attach another page, later if need.  My way of adding expansion to my journal. 
  • The outer two pages are glued to the outer covers.  The hinges are left attached only to self.  Each hinge has just two holes in it and are sewn together.  
  • The stitching was very easy to do.  I didnt have proper bookbinding thread and just pulled two strands off of a piece of 3 strand crochet thread.
    • Stitch from the outside of your first hinge, through the first hole, right side, into the first hole, right side of the second hinge.
    • Now stitch through the left hole of the second hinge and through the second hole, left side of the first hinge.
    • Tie off the thread to the free strand.
    • Now, stitch through the right side of the third hinge and out the left side hole.  Run the need around the post between the first two hinges and then up into the left side of the fourth hinge.
    • Stitch out the ride side of the fourth hinge and loop through the post between the third and second hinge. I went from inside to outside around the post between the hinges.
    • Now stitch up through the fifth hinge and continue adding hinges as needed.
    • Once you get going it finishes very quickly.  I glued one page to my hinges before sewing, but you can sew the hinges then glue pages later.

  • You can see the hinge attached to a page and the one free side. I put my days of week in a circle and journal in a circle for each day around the page.  You could just as easily journal in horizontal patches too.


  • Here I used the free side of the hinge to add the cutout for my page tip-in.

  • I do actually have tip-ins too and add them with washi tape.  Well the ones i have added i used paper tape as I didnt have washi tape then. =)