Acrylic gessos are used today to prime the surface of our journal pages, canvas, and boards. We use acrylic gesso instead of the historical rabbit glue gesso because the acrylic is flexible.
I've tried the same formula with different dry ingredients and find the easiest to make and the one that fits my needs the best uses white chalk for the dry ingredient.
There are many recipes on the net that use talc powders (baby etc), corn starch, baking soda, and plaster, or even a combination of them.
There are many recipes on the net that use talc powders (baby etc), corn starch, baking soda, and plaster, or even a combination of them.
I fist tried cornstarch, I thought it was too sticky and added in some baking soda to provide a coarser grit. Then, because i had several unused sheets of sheet rock, I opted to try that.
I peeled off the paper and using my Dremel tool with the sand paper round, sanded the rock to powder. I liked this dry medium very much. But it was time consuming and dusty to make. Finally I have settled with using white chalk as my dry ingredient.
The first time i mixed it, I broke the pieces of chalk into the container, and covered with water. Every now and then I fiddled with it using the back of a spoon to press the pieces and break them up until it was all just mush.
It didn't take long, perhaps 30 minutes or so, yet being impatient and not caring for the chasing of the bigger pieces around in the container, this time I used a hammer first.
I used: 1/2 C permanent when dry white glue not school glues.
1/2 C acrylic white paint
box of chalk 16 pieces
and water (just enough to mix the chalk to a thick slurry), a hammer, some parchment paper, a spoon and a container for storage.
and water (just enough to mix the chalk to a thick slurry), a hammer, some parchment paper, a spoon and a container for storage.

Take a piece of parchment paper and fold in half, then fold in 3/4 inch or so on each of the sides making an envelope or packet. Place a piece of chalk inside and hammer it.

You can hold the hammer just behind the head, and just drop it down, let the hammer do the squishing, no pounding. Tap, tap, tap.

Now, using the edge of the spoon and tipped up, slide or push it across the paper. You will both hear and feel the small pieces that need to be squished further. I went one way, then turned the packet and went the other way.

Because its chalk it will cling to itself and look chunky, but its mostly powder now.

Pour into your container and continue. I did 2 chalk in the paper at a time, it went fast.

Check the depth of the powder, using it as a gauge to add the water.

I added way to much! I poured some off but started loosing the powder too, so stopped. Ugh. Next time i will drizzle it and stir, making a fairly thick slurry, instead of thin soup.

Then I added in 4 oz of paint and 4 oz of glue, and stirred. It is still too thin, and I will add another box of chalk when i pick more up.

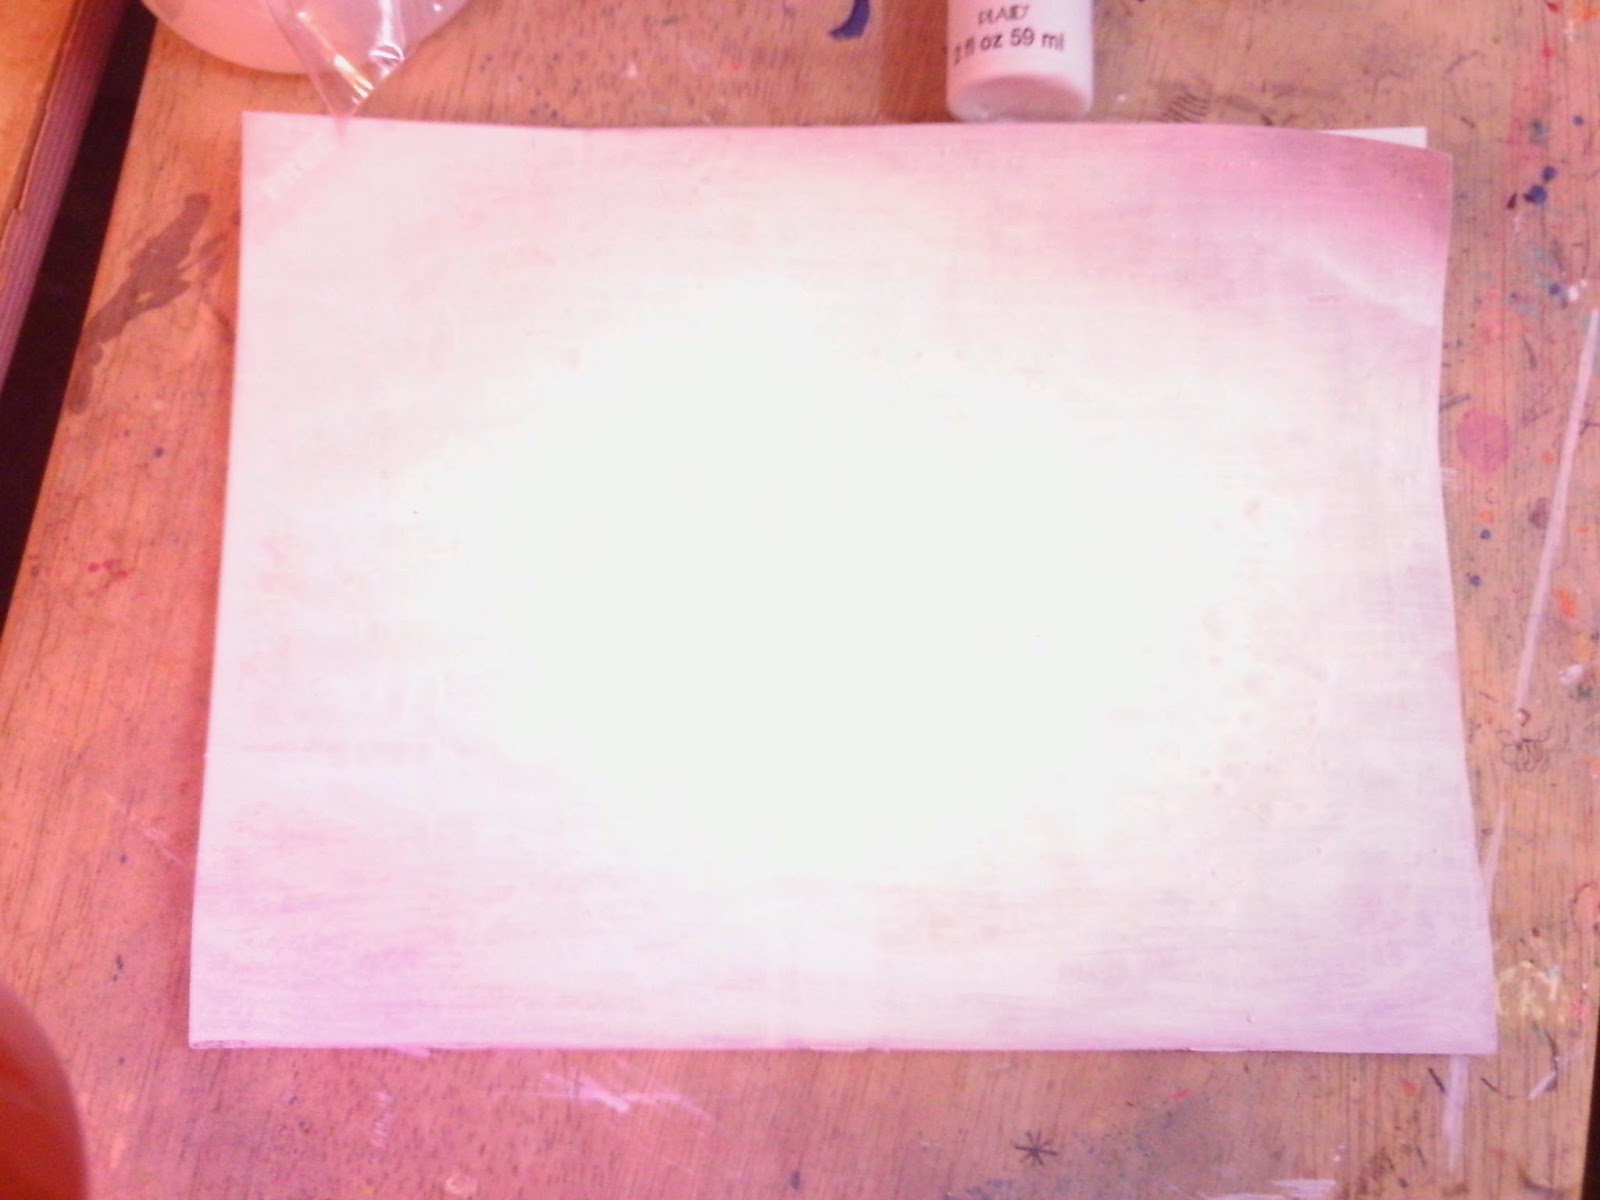
I poured some into the empty paint bottles, and squirted it on this free magazine to try it out.

I used my fingers to spread it around and then dried it with my new heat gun.

I love the result, its thin, but i love the feel and texture of it. Nice matte finish.

Look at the picture below closely, see the bumps on the right side? Just like purchased gesso, you dont want to use a heat tool to dry it! Bubbles, lol. I love it, and they flatten when i press on them. The magazine's pages and covers are glossy paper.
If you prefer more coverage you can add another 4 oz of white paint, but I like it like this.
You can see a bit of the texture of the chalk too. You can sand it if you prefer it smoother.

After 3 fast coats.


Here im testing the flexibility of the gesso, I folded and creased it tightly with no resulting cracking.


Purchased gesso is wonderful, so many different kinds are available, but sometimes when the stores are closed or the only way you can purchase gesso is by mail, making your own is a fantastic way to go!
.JPG)


.JPG)