I wanted my journal to open with the pages flat against the table/surface. I also wanted it expandable. So, I wanted to allow for the thickness of the watercolor tip-ins. I used folded hinges that had a page only on one side and were the same thickness as the watercolor paper used for the tip-ins.
Each page has two weeks on it, one week on each side, and allows for a tip-in on each side too. This means less pages and hinges per each half of my journal. I like it.
Extra pages may be added if needed to the hinge that is free.
My plan is to add the second half of my journal by gluing the first page to the back cover of the first half. However, to open it, you will flip the hole first half to the right and then see the last 6 months of the year on the left, starting with July.
The pages will also flip to the right. I think i will like this arrangement very much.
- I used card stock in black for the 3 covers. White card stock for the hinges. Plain printer paper for the pages and most tip-ins; and 90lb watercolor paper for other tip ins. To tell the truth, the printer paper worked just as well after coating them with gesso for the tip ins.


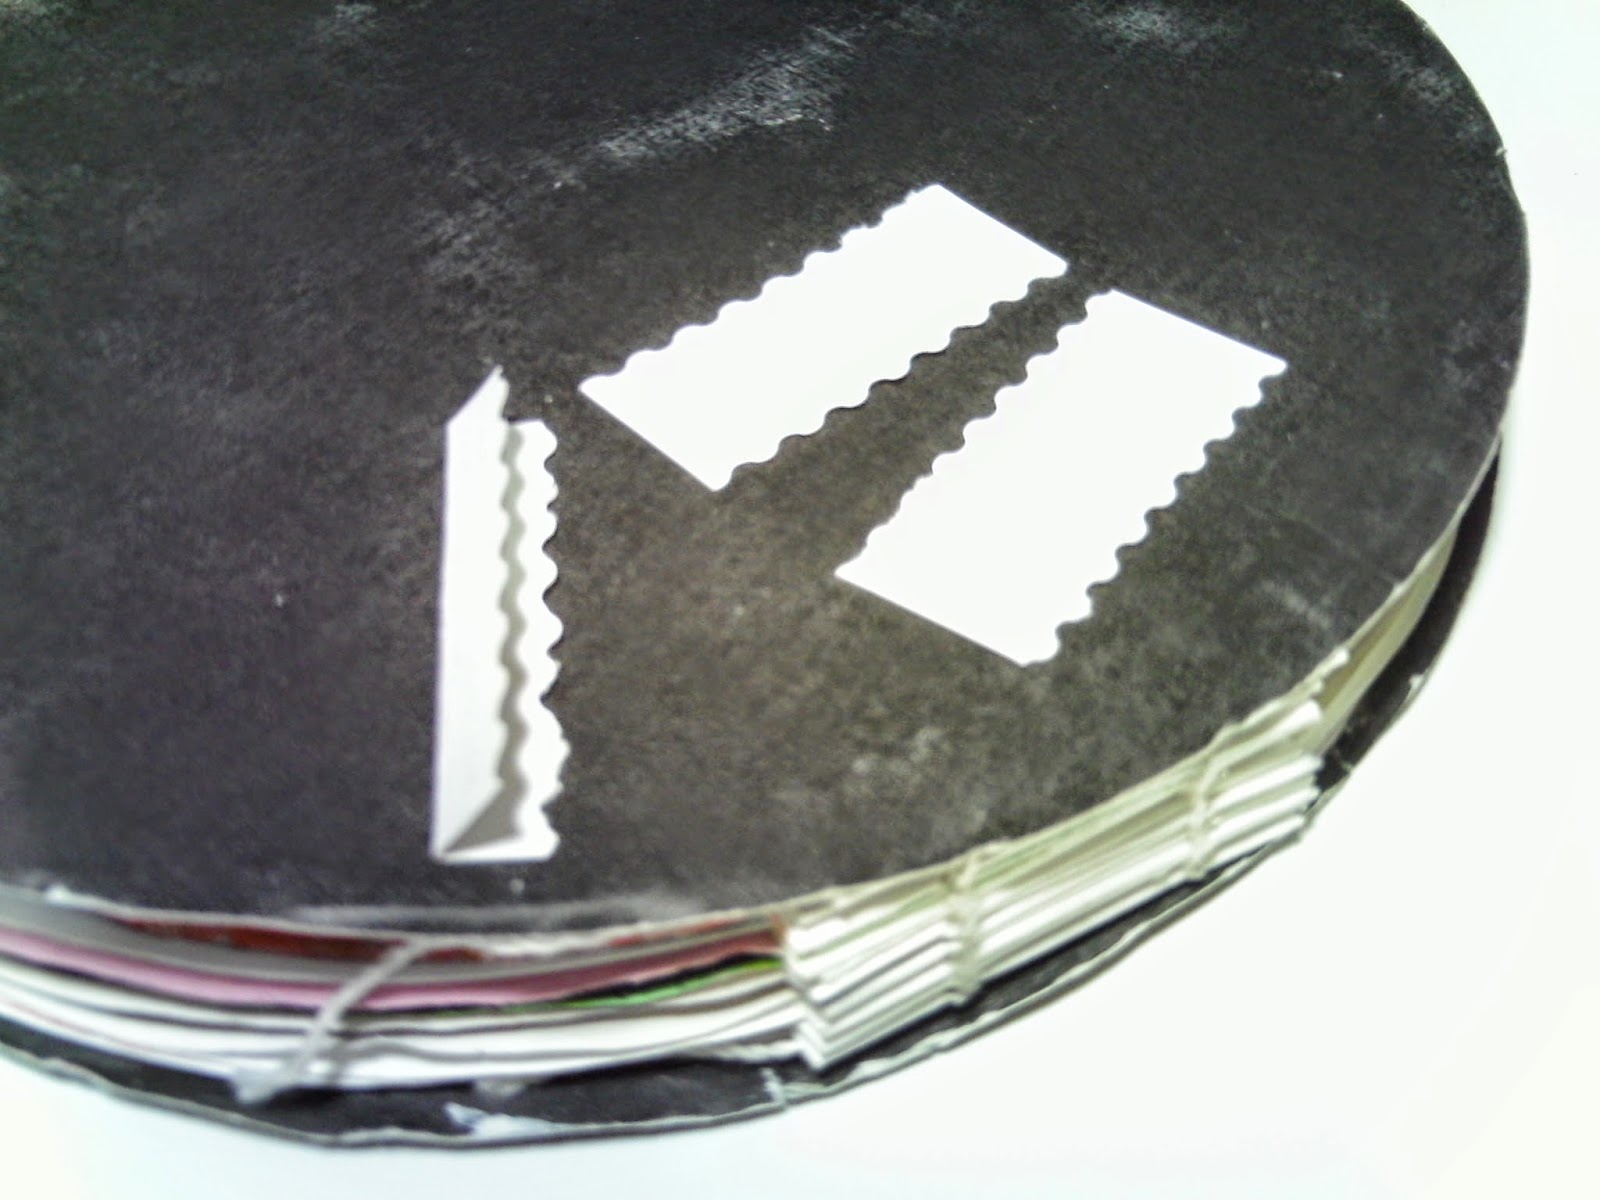
- I could have cut one side of the circle flat/straight, but chose not to and just add a short hinge to it. The hinge is designed to be attached to one page only, and the other side is available to attach another page, later if need. My way of adding expansion to my journal.

- The outer two pages are glued to the outer covers. The hinges are left attached only to self. Each hinge has just two holes in it and are sewn together.
- The stitching was very easy to do. I didnt have proper bookbinding thread and just pulled two strands off of a piece of 3 strand crochet thread.
- Stitch from the outside of your first hinge, through the first hole, right side, into the first hole, right side of the second hinge.
- Now stitch through the left hole of the second hinge and through the second hole, left side of the first hinge.
- Tie off the thread to the free strand.
- Now, stitch through the right side of the third hinge and out the left side hole. Run the need around the post between the first two hinges and then up into the left side of the fourth hinge.
- Stitch out the ride side of the fourth hinge and loop through the post between the third and second hinge. I went from inside to outside around the post between the hinges.
- Now stitch up through the fifth hinge and continue adding hinges as needed.
- Once you get going it finishes very quickly. I glued one page to my hinges before sewing, but you can sew the hinges then glue pages later.

- You can see the hinge attached to a page and the one free side. I put my days of week in a circle and journal in a circle for each day around the page. You could just as easily journal in horizontal patches too.


- Here I used the free side of the hinge to add the cutout for my page tip-in.


- I do actually have tip-ins too and add them with washi tape. Well the ones i have added i used paper tape as I didnt have washi tape then. =)
This is a fabulous explanation!
ReplyDeleteI have wondered each time I see your lovely pages, how your journal works.
I truly love what you have created.
Thank you for taking the time to write about it!
Love, hugs & best wishes,
Sue Carey xx
Oh, my goodness, you are so welcome and right back to you! Thank you.
ReplyDeleteWonderful, thank you for sharing!
ReplyDeleteYou are welcome, and thank you for letting me know you viewed it.
ReplyDelete